
There are always distractions when it comes to gaming, especially around the Holidays, and shiny new models and games can often take the focus off of terrain projects. However I was dedicated... this time... to finish my Omaha Beach Table.
For those that missed Part 1 of the Beach table adventure you can view it here
http://buckaroo13.blogspot.com/2010/12/flames-of-war-omaha-beach-table-part-1.html
When we left off last time the Beach table ready for pouring the water.
For the water effect I used Parks Super Glaze from Home Depot. It's a High Gloss I ended up using two packs of this.

The Epoxy is sticky and smelly but it works wonders. I decided to pour it in two layers.

Above is the first pour going on

Super Glaze is self leveling and covers the entire water area.

I had to move to the garage because of the smell, here is a couple of days later when we poured the second layer. Here was where I encountered my first big problem with the Super Glaze. The Second layer would not cure. I waited a week but the surface was still tacky! Either I didn't mix the resin enough or the cold temps in my garage caused it. Either way I had to go with a third pour, this worked without issue and cured within 24 hours... I was back in business!

Next up was the waves. This is probably the most 'artistic' part of the whole project. For the waves I used Woodland Scenics "Water Effects" I would also use Woodland Scenics "Realistic Water" once the waves were complete to give it more watery shine! (I didn't want to buy another box of Super Glaze!)

Above the Water Effects goes on, just like toothpaste! I wanted two wave lines, these would also serve a game purpose, marking the Deployment and landing Zones.
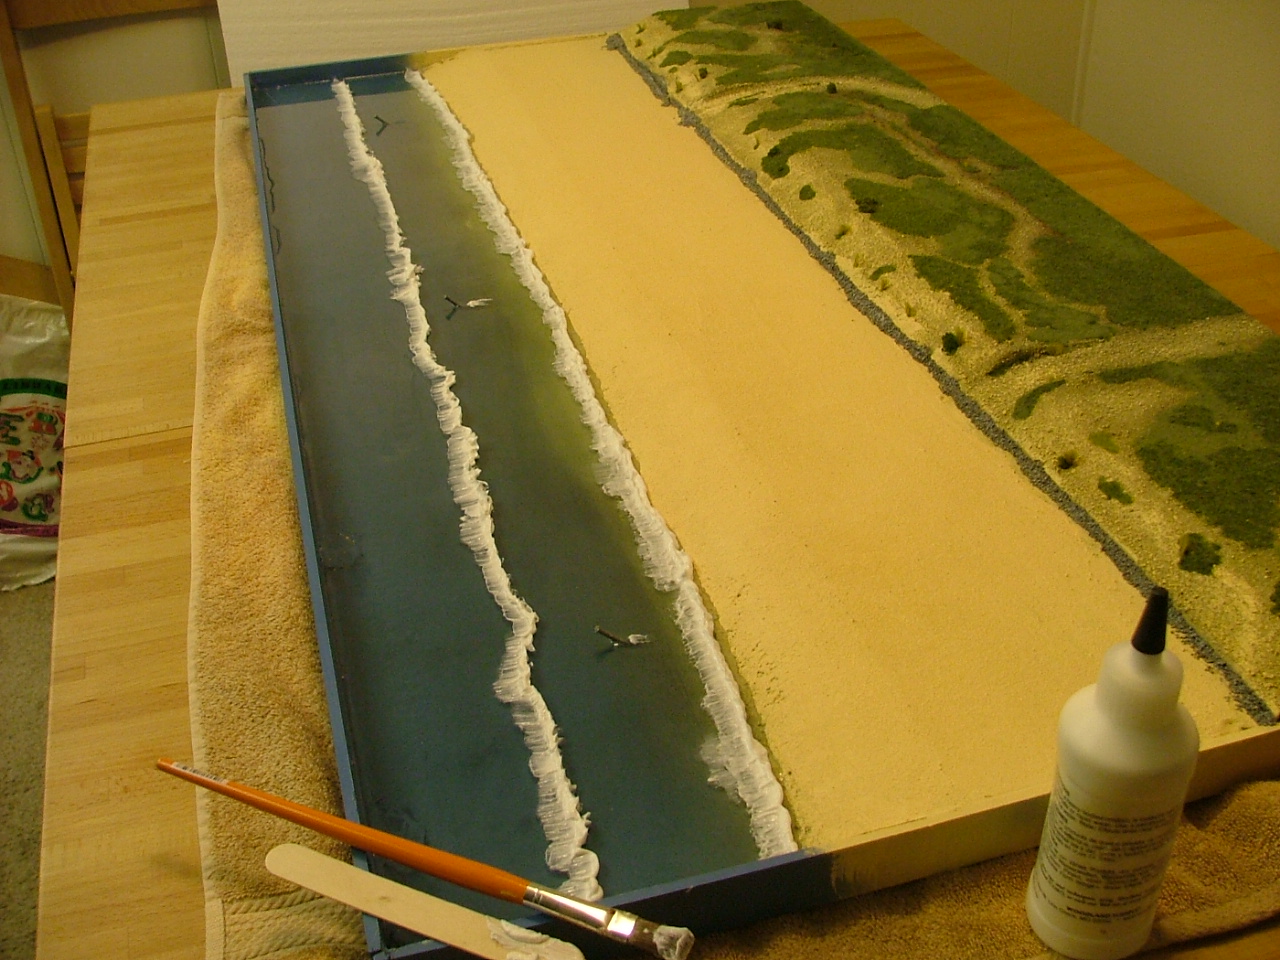
Above we have put both Wave lines in and used a paint brush to feather them and make them look more "frothy" Too bad Water Effects dries Clear! This required us to go back and PAINT the waves white.

Above Jake paints the waves. I only had GW Skull White on hand, which is a flat white, so once it was painted and dried we covered it with another coat of Water Effects that was stippled over the whitewater and then some "Realistic Water" to make it even more glossy.

Above the waves are taking Shape!

The Beach table was designed to accommodate the official Flames of War scenario "Hit the Beach" So I needed another two 2x4 board sections to play the scenario. I used 2" thick foam for these sections. These are not the sturdiest (I would have loved to find the denser pink foam for this project)
These sections were covered with Sand, painted browns and tans and then flocked.

The Hit the Beach scenario can also include a lot of defenses for the Germans. I used scraps I had around the house, Molding and a plastic parking sign to create 4 feet( 6 sections) of Barbed wire, 3 mine fields and 5 feet of Trenches
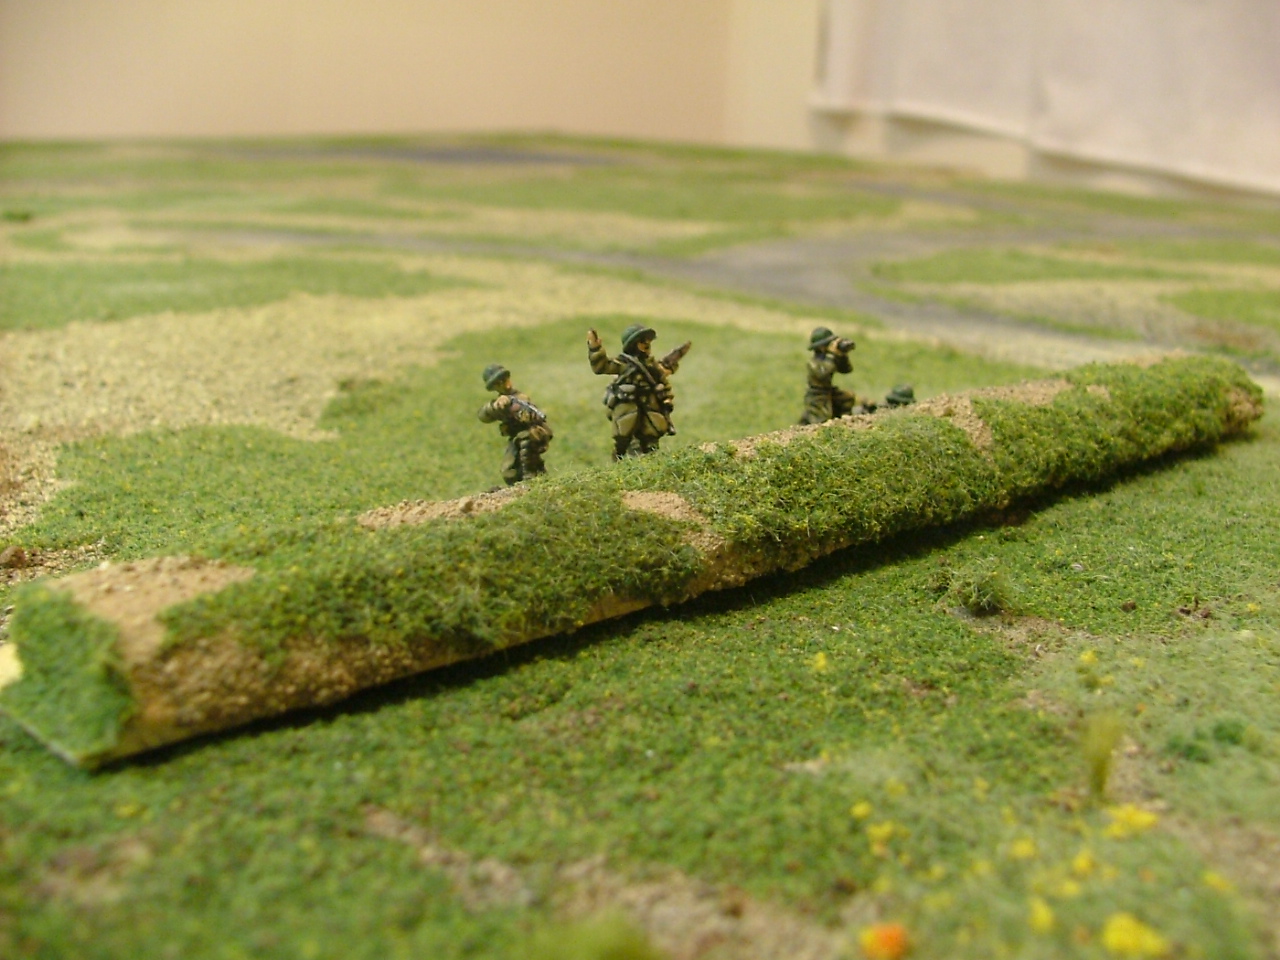
Here is a close up of a Trench section on the table

Just playing with the set up. I tried to keep the table as open as possible so that it could be set up many different ways.

Troops hit the shore and make a dash for the Sea Wall
Well that's that then! One Beach table for flames of war. We are having a D-Day event this weekend and hopefully my table will see some action and I can get a battle report posted on the gaming goodness.
Until later!
That's a beauty! It can't be simple, but you make it look that way. The final effect is very realistic, and the table as a whole too.
ReplyDeletevery nice, thanks for the sharing the progress pics.
ReplyDeleteI'm helping my daughter to a (whale) diorama for school and your water effects photographics are very helpful (I'm also a gamer, which is how I found your blog in the first place)
ReplyDelete